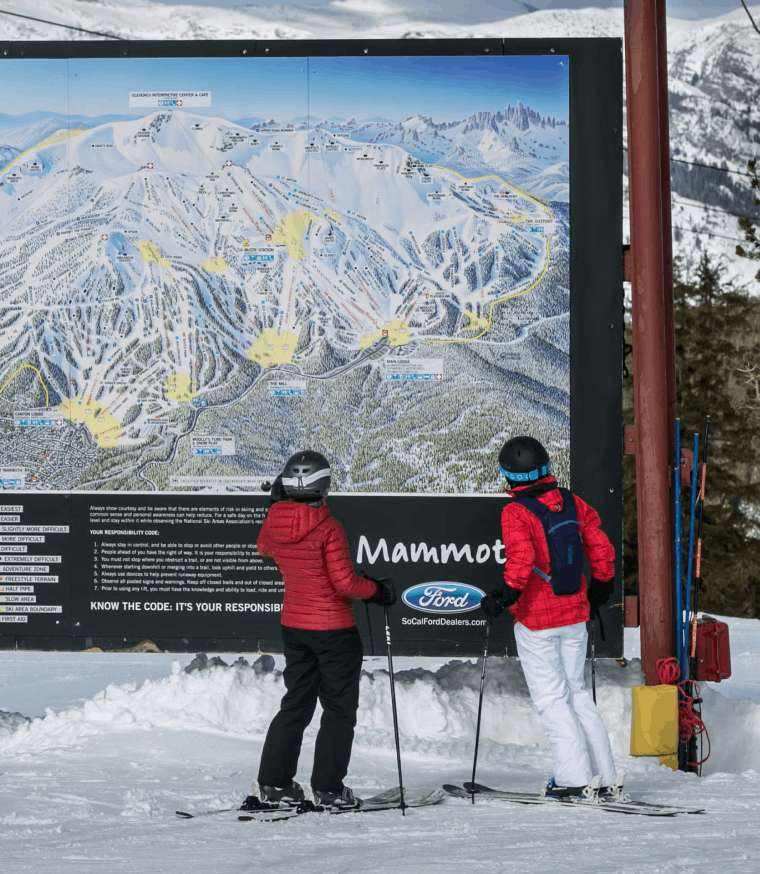
By Annika Solis
A trail map might look simple at first glance, but knowing how to read one properly can make your day on the mountain significantly smoother — and safer.
Every ski resort uses a color-coded difficulty system. Green circles mark beginner-friendly terrain, blue squares indicate intermediate runs, black diamonds are for advanced riders, and double black diamonds are expert-only. At Trailblaze Slopes, we always recommend starting on terrain one level below what you think you can handle until you’re familiar with the mountain.
Beyond colors, pay attention to the symbols for lifts, lodges, patrol stations, and restrooms. Knowing where these are ahead of time saves you from scrambling mid-run when you need a break or assistance.
Trail maps also show you how runs connect. Understanding the flow of the mountain helps you plan your day — which lifts access which zones, where the easy runouts are, and how to get back to the base without accidentally dropping onto a trail above your skill level.
Before your first run of the day, spend five minutes with the map. Pick a lift, identify two or three trails in that zone, and note where they converge at the bottom. It’s a simple habit that makes the whole experience more confident and enjoyable.
Grab a map at the ticket window — and don’t be afraid to ask our staff for recommendations!